Automating Wordpress Installation Through Ansible !
August 5, 2019
This article will cover the process of automating WordPress installation on multiple Ubuntu (Debian) nodes/servers using ansible.
I would like you to first go through my previous post to get a good idea of "How Ansible works" and the problems you may face while setting up a basic ansible structure.
And then, you can definitely follow-up with the process here.
Requirements:-
- An ansible controller machine (Basically a machine which has ansible installed on it and can SSH into remote servers/nodes).
- A remote-server (node) to test the ansible-playbook (the one which we will be using to install WordPress on from remote).
To-Do's:-
- Setup Apache2 web-server.
- Install dependencies for WordPress:
- mariadb-server
- php
- libapache2-mod-php
- php-mysql
- python-mysqldb
- Install WordPress and configure it.
Let's get started:-
Earlier, we were having some very simple ansible-playbooks that were supposed to do only a certain specific task like pinging a remote server, setting up nginx or apache etc.
As you start adding more and more tasks to plays, your Playbooks can become increasingly difficult to handle. For that reason, the recommended approach in those situations (actually, in all cases) is to use a directory structure that contains the directives for each group of tasks in distinct files. This approach allows us to re-use these configuration files in separate projects further down the road. Each of these files define what is called in the Ansible ecosystem a role.
Therefore, following the similar approach, we will be creating 3 roles for our playbook.
- apache2-install [For installing apache2 on the remote node. Though I could have merged it in the wp-dependencies but I will use it later, to explain the ansible role directories ]
- wp-dependencies [For installing and configuring the required packages and setting up database for WordPress]
- wp-install-config [For actually installing & configuring WordPress]
- For creating an ansible-directory, choose any location on your ansible controller machine (I am using /etc/ansible/playbooks on my local Ubuntu 18.04.1 host machine).
$ cd /etc/ansible/playbooks
$ sudo ansible-galaxy init apache2-install
$ sudo ansible-galaxy init wp-dependencies
$ sudo ansible-galaxy init wp-install-config- Create the main ansible-playbook "playbook.yml" (you can name it anything though) and put all the three roles in there. We will define their structure later in the post.
---
- hosts: webservers
  become: true
  become_method: sudo
  roles:
        - apache2-install
        - wp-dependencies
        - wp-install-config
...
And if you try to list (ls) any of these newly created directories, it will have a structure like this:
├── defaults
│   └── main.yml
├── files
├── handlers
│   └── main.yml
├── meta
│   └── main.yml
├── README.md
├── tasks
│   └── main.yml
├── templates
├── tests
│   ├── inventory
│   └── test.yml
└── vars
    └── main.yml
Let's try to break a traditional ansible-playbook and re-write it again according to this direcetory structure, so that, you can get a good idea of how things work in ansible roles.
## Example: apache2.yml

---
- hosts: webservers
  become: true
  become_method: sudo
  vars:
    max_clients: 200
  tasks:
    - name: install apache2
      apt: name=apache2 update_cache=yes state=latest

    - name: enabled mod_rewrite
      apache2_module: name=rewrite state=present
      notify:
        - restart apache2

  handlers:
    - name: restart apache2
      service: name=apache2 state=restarted
...
The above playbook "apache2.yml" is a single play. We will divide the several elements of this play into the directory structure of "apache2-install" ansible role.
- Right from the top, the first 3 lines " hosts: webserver", "become: true" and "become_method: sudo" will go in the main YAML file i.e. playbook.yml (we have already done that above).
- The next sections "vars: max_clients: 200" will go in "apache2-install/vars/main.yml".
---
# vars file for apache2-install
{
        "vars":
       { "max_clients":200 }
}
...- Now, comes the most important "tasks" section and that will go inside "/apache2-install/tasks/main.yml".
---
# tasks file for apache2-install
- name: install apache2
  apt: name=apache2 update_cache=yes state=latest

- name: enabled mod_rewrite
  apache2_module: name=rewrite state=present
  notify:
    - restart apache2
...- And finally, we have the "handlers" section. That will go in "apache2-install/handlers/main.yml".
---
# handlers file for apache2-install
- name: restart apache2
  service: name=apache2 state=restarted
...
And Tada, we have refactored our apache2.yml playbook into apache2-install ansible role.
Moving on...
Now, that we have setup one role, let's quickly do the work for other 2 more significant roles as well.
wp-dependencies
- Copy the tasks(below) in "wp-dependencies/tasks/main.yml". It will first update all the packages, install all the required dependencies, ensure whether mariadb is running or not. Besides, it will copy ~/.my.cnf to remote servers/nodes. Finally, it will create a mariadb database and setup the username and password for the same.
---
# tasks file for wp-dependencies
- name: Update packages (this is equivalent to apt update)
  apt: name=* state=latest

- name: Install dependencies for WordPress
  apt: name= update_cache=yes state=present
  with_items:
        - mariadb-server
        - php
        - libapache2-mod-php
        - php-mysql
        - python-mysqldb

- name: Ensure MariaDB is running (and enable it at boot)
  service: name=mariadb state=started enabled=yes

- name: Copy ~/.my.cnf to nodes
  copy: src=~/.my.cnf dest=/root/.my.cnf

- name: Create MariaDB database
  mysql_db: name= state=present

- name: Create MariaDB username and password
  mysql_user:
        login_user=root
        login_password=<YourMariaDBRootPasswordHere>
        name=
        password=
        priv=*.*:ALL
...
<Note>
1. Change the <YourMariaDBRootPasswordHere> with the actual password.
2. Right now, there is no available workaround that will allow you to set up the root password via Ansible in the same step where you create the administrative database account for WordPress. So, you have to manually do it through "mysql_secure_installation " and copy the root password in "~/.my.cnf" (it is advisable to keep it same on all nodes).
</Note>
- For setting up the databse cerdentials, copy the content below in "wp-dependencies/defaults/main.yml". (Change the values for the keys accordingly.)
---
# defaults file for wp-dependencies
  wp_mysql_db: MyWordPress
  wp_mysql_user: WordPressUser
  wp_mysql_password: uvwxyz
...
wp-install-config
- Insert the following content in "wp-install-config/tasks/main.yml". This will create a directory to download WordPress, fetch the URL for the latest downloadable Wordpress tar file, extract it and finally send the config files (that we are going to download in a minute) to the destination "/var/www/html/" in the remote nodes where we have setup apache2 web server.
---
# tasks file for wp-install-config
- name: Create directory to download WordPress
  command: mkdir -p /opt/source/wordpress

- name: Download WordPress
  get_url: url=https://www.wordpress.org/latest.tar.gz dest=/opt/source/wordpress/wordpress.tar.gz validate_certs=no

- name: Extract WordPress
  command: "tar xzf /opt/source/wordpress/wordpress.tar.gz -C /var/www/html --strip-components 1"

- name: Send config file
  copy: src=~/wp-config-sample.php dest=/var/www/html/wp-config.php mode=0644
...- Download and copy wp-config-sample.php and save this to the ansible controller machine in the home directory of the superuser (~/wp-config-sample.php). Also, make sure that values of the variables DB_NAME, DB_USER, and DB_PASSWORD are same as in "wp-dependencies/defaults/main.yml".
Now, we are left with some last few steps.
- Open "/etc/ansible/hosts" in an editor of your choice and scroll down to bottom. Create a group [webservers] and put the IP addresses of the remote-nodes under it. (I will be putting only one for now. You can put any number of IPs after you make sure that the playbook works fine for your mentioned node.)
[webservers]
35.224.209.3
And yes, we are done will all the preppings. It's the final show-down time. :D
- Run the ansible playbook now.
# Syntax: ansible-playbook <path to your ansible playbook>

$ ansible-playbook /etc/ansible/playbooks/playbook.yml
And if you see an output like, sit back and rest for a minute. This is what we want :D
## Truncated output from above.

35.224.209.3 : ok=14 changed=2 unreachable=0 failed=0 skipped=0 rescued=0 ignored=0 - Now, open your browser and point the URL to http://35.224.209.3 and it will land you to the wp-admin page.
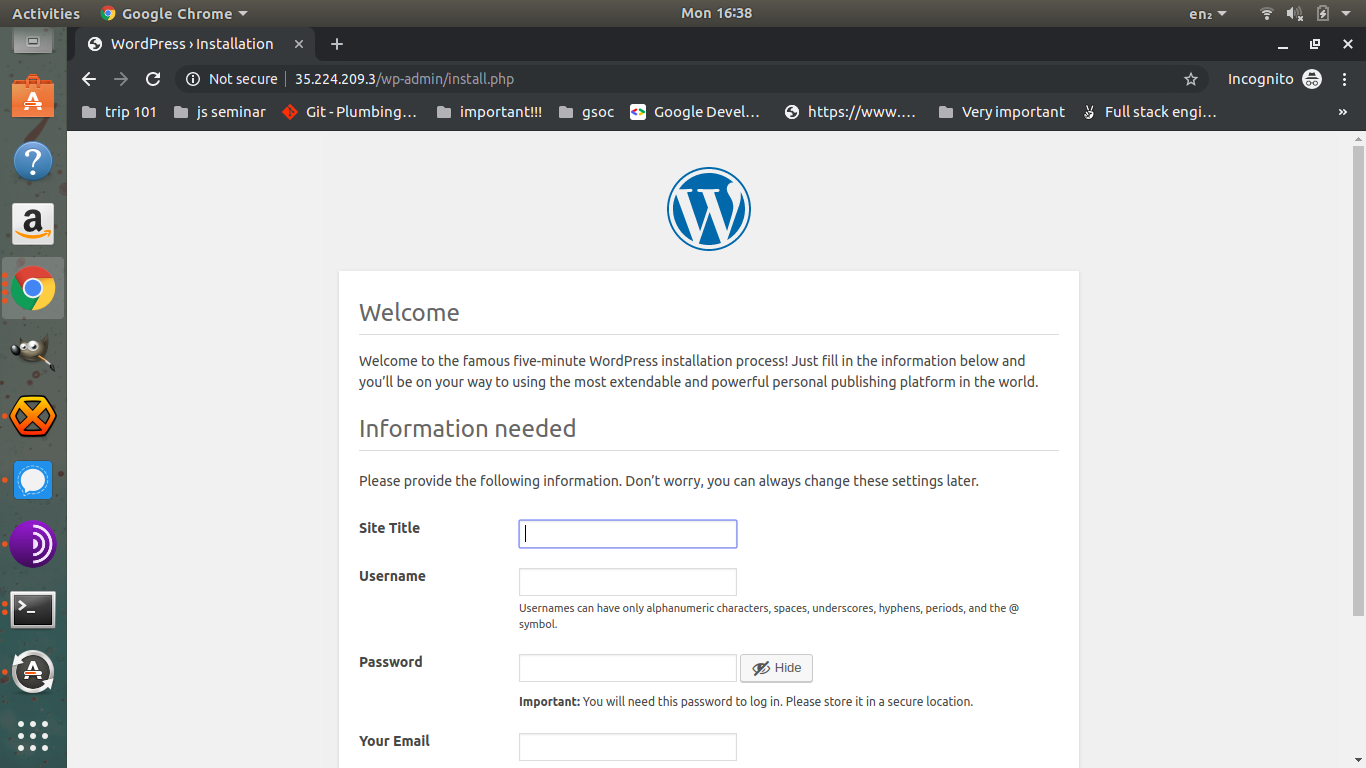
Configure it accordingly and we are all done. 🎉🎉🎉🎉
That's all for this post. o/