Setting up WriteFreely multi-user instance in production!
July 29, 2019
The last time when I had set up a WordPress on GCP, I was actually supposed to do all that by scratch. But my foolness made me do things quickly and I went for the ready-made Bitnami image and was done.
So, now to compensate (and actually for setting up another Production server), here I am writing again on "how to set up a WriteFreely multi-user instance behind reverse-proxy" all by scratch.
Requirements:
- A production server to host the multi-user instance (in my case, a GCP Ubuntu 18.04 LTS VM).
- A registered domain name (I will be using ps119.tk) [Refer to the article here, in case you want to know, how to register a free custom domain name.]
- An Apache or Nginx web server to be used as reverse proxy ( in my case, Apache2).
- A MySQL (5.6+) or SQLite database server timezoned to UTC.
- And as the Writefreely official documentation says:
- The ability to run an executable.
- About 30 minutes. :D
I will be covering most part of the configuration mentioned above in the steps below.
So, Let's get started...
- Update and upgrade the system.
$ sudo apt update && sudo apt dist-upgrade- Install and start Apache web server.
$ sudo apt install apache2
$ sudo systemctl start apache2- Install MySQL and configure it as per your setup requirements.
$ sudo apt install mysql-server
$ sudo mysql_secure_installation- Enable Apache modules in order to operate it as a reverse-proxy. Also, restart is after to reflect the changes.
$ sudo a2enmod proxy
$ sudo a2enmod proxy_http
$ sudo systemctl restart apache2- Now, after installing all the required dependencies. The next step is to create a MySQL database.
// Leave the password blank when prompted
$ sudo mysql -u root -p

//At "mysql>" prompt
CREATE USER 'writefreely'@'localhost' IDENTIFIED BY 'YouPasswordHere';
CREATE DATABASE IF NOT EXISTS writefreely CHARACTER SET utf8mb4 COLLATE utf8mb4_general_ci;
GRANT ALL PRIVILEGES on writefreely.* to 'writefreely'@'localhost';
FLUSH PRIVILEGES;
exit- Create the following directories and move into that. (change "ps119.tk" to "your domain name")
$ sudo mkdir /var/www/ps119.tk
$ sudo mkdir /var/www/ps119.tk/writefreely
$ cd /var/www/ps119.tk/writefreely- Now inside this directory, download the WriteFreely zip using the link for the latest Linux version from here. Unzip the "tar" file and remove the zip file after (for cleaning purpose).
//use the latest link.
$ sudo wget "https://github.com/writeas/writefreely/releases/download/v0.10.0/writefreely_0.10.0_linux_amd64.tar.gz"
$ sudo tar -xvzf writefreely_0.10.0_linux_amd64.tar.gz
$ sudo rm writefreely_0.10.0_linux_amd64.tar.gz
- It's time to configure WriteFreely now. You can follow as per my configuration for a multi-user reverse proxy instance (Make suitable changes wherever needed).
$sudo ./writefreely --config

Loaded configuration config.ini.

  ✍ WriteFreely Configuration ✍

This quick configuration process will update the application's config file, config.ini.

It validates your input along the way, so you can be sure any future errors aren't caused by a bad configuration. If you'd rather configure your server manually, instead run: writefreely --create-config and edit that file.

Server setup
Production, behind reverse proxy
Local port: 8080

Database setup
MySQL
Username: writefreely
Password: ******************************
Database name: writefreely
Host: localhost
Port: 3306

App setup
Multi-user instance
Instance name: blogs.demo
Public URL: https://ps119.tk
Closed
Max blogs per user: 1
Enabled
Public
Public
2019/07/29 05:31:24 Connecting to mysql database...
2019/07/29 05:31:24 Database already initialized.- As we chose for "Multi-user instance", it is required to import the database-schema and create a Admin-user.
$ sudo ./writefreely --init-db
// change [username] and [password] with the suitable values.
$sudo ./writefreely --create-admin [username]:[password]
- Now, generate the encryption keys for your instance.
$ sudo ./writefreely --gen-keys- Create a "Virtual Host" to host the WriteFreely instance on Apache web server and copy the following content in the writefreely.conf file.
$ sudo nano /etc/apache2/sites-available/writefreely.conf

//PASTE THE FOLLOWING CONTENT (change ps119.tk to your domain name)

<VirtualHost *:80>
    ServerName ps119.tk

    ProxyPreserveHost On

    ProxyPass / http://127.0.0.1:8080/
    ProxyPassReverse / http://127.0.0.1:8080/
</VirtualHost>- Enable the newly created virtual host and disable the existing one. Also reload Apache after it, to reflect the config changes.
$ sudo a2ensite writefreely.conf
$ sudo a2dissite 000-default.conf
$ sudo systemctl reload apache2- We have almost reached to one of the few final steps now. It's time for us to create a systemd service for WriteFreely. (Again paste the following content after creating a writefreely.service file)
$ sudo nano /etc/systemd/system/writefreely.service

//PASTE THE FOLLOWING CONTENT (change ps119.tk to your domain name)

[Unit]
Description=Write Freely Instance
After=syslog.target network.target

[Service]
Type=simple
StandardOutput=syslog
StandardError=syslog
WorkingDirectory=/var/www/ps119.tk/writefreely
ExecStart=/var/www/ps119.tk/writefreely/writefreely
Restart=always

[Install]
WantedBy=multi-user.target- Now, enable the writefreely.service so that it will start the writefreely service every time the system boots.
$ sudo systemctl enable writefreely.service- Finally, start the service.
$ sudo systemctl start writefreely.service- An optional (but recommended) step to install certbot to get Let's Encrypt SSL Certificates for our instance.
$ sudo apt-get update
$ sudo apt-get install software-properties-common
$ sudo add-apt-repository universe
$ sudo add-apt-repository ppa:certbot/certbot
$ sudo apt-get update
$ sudo apt-get install certbot
$ sudo apt-get install certbot python-certbot-apache

// Select the URL to set the SSL certificates for and choose the appropriate options after.
$ sudo certbot --apache
Voila, we are done with the setup of our multi-user WriteFreely instance. 🎉 🎉
Now, the only thing left for us is to actually acces it. So, go to https://<your_domain_name> (like https://ps119.tk in my case) and below is how it will look.
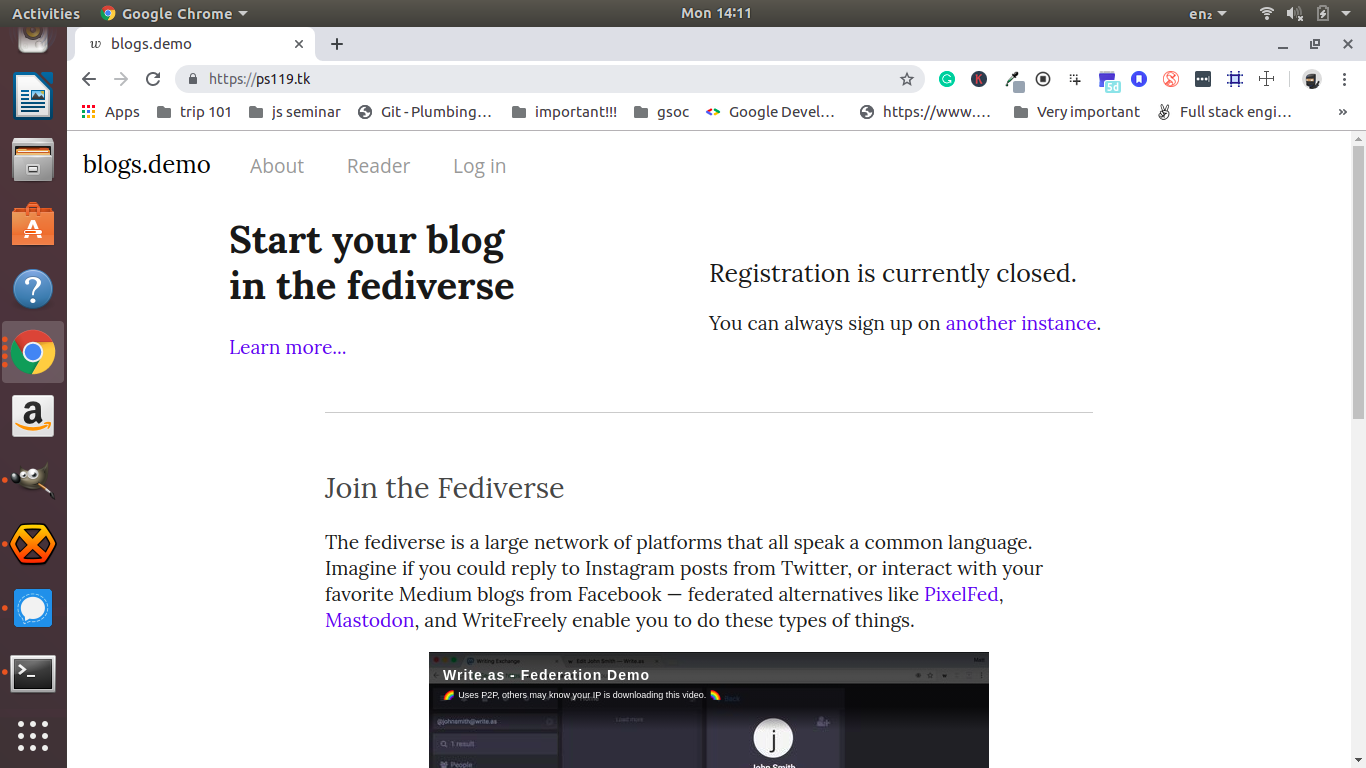
Login into the instance with the [username] and [password] of the Admin-user (we created above) and customize it as per your requirements.
And there you go, you have your own blog production server. :D
An Optional Section:
I wanted to actually redirect "ps119.tk" to "https://ps119.tk/read", so that whenever somebody visits the URL https://ps119.tk/, they directly land onto the Readers page.
So, with a lot of tinkering on web, I managed to do it with a small modifications in writefreely.conf file.
(I still doubt whether this is the right way of doing it. But this is how, I have done it and it so so works for me as well.)
$ cd /etc/apache2/sites-enabled/
$ sudo vim writefreely.conf

// Modifications in the redirecting rule.

<VirtualHost *:80>
    ServerName ps119.tk

    ProxyPreserveHost On

    ProxyPass / http://127.0.0.1:8080/
    ProxyPassReverse / http://127.0.0.1:8080/
    RewriteEngine on
    RewriteCond %{SERVER_NAME} =ps119.tk
    RewriteRule ^ https://%{SERVER_NAME}%{REQUEST_URI}read [END,NE,R=permanent]

</VirtualHost>
Read here to learn more about .htaccess file, redirecting and remapping.