Setting Up Wordpress On GCP!
July 27, 2019
I assume if someone has landed upon this post, they already know what Wordpress is. Still, in-case if you don't, see I have linked it above. :)
Now, let's quickly start with Our Use-Case of the Post i.e. "Setting up Wordpress on GCP". What I mean here is-
Self-hosting a WordPress blog/website on Google Cloud Platform(GCP).
I will divide this post majorly into three parts.
- Installing Wordpress on GCP.
- Redirecting the Wordpress instance to a custom domain name.
- Installing SSL certificates to put the blog on it's HTTPS alias.
Note:- If somebody feels like leaving here, thinking that this will cost them thousands of bucks. The Good News is, IT'S TOTALLY FREE. 🎉🎉
Now, stay tuned with me, if you want a blog of your own.
INSTALLING WORDPRESS ON GCP
Requirements:
- You need a GCP account (a bit obvious, still most important :P).
- Your GCP account should be an active-billing account (Get this done or there is no use of reading onwards).
Let's start with the installation of Wordpress on GCP now.
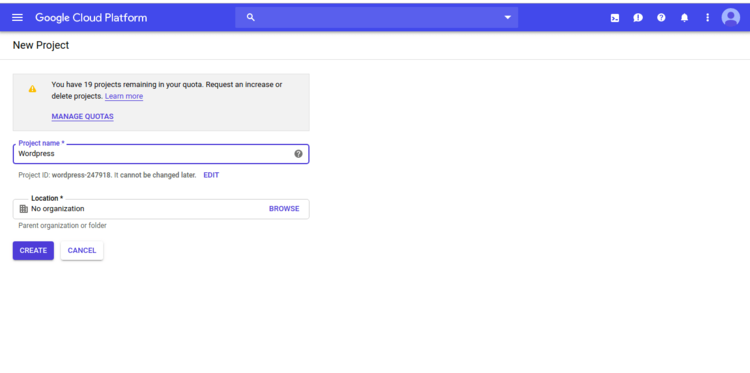
- Go to your Google Cloud Console. Click on "Select a project" dropdown(next to the 'Google Cloud Platform' in the header)>"New Project".
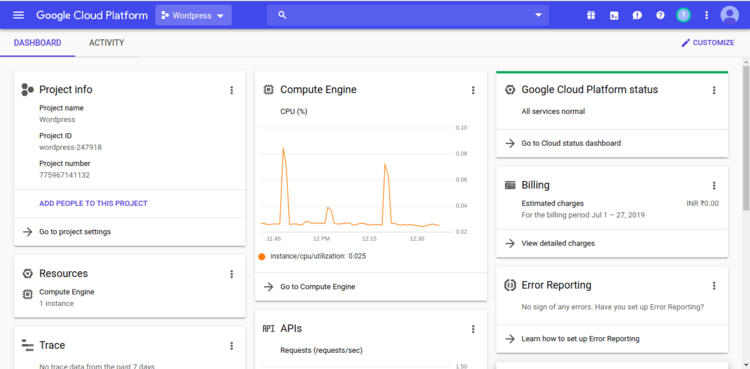
- Give a unique Project name, leave the rest as default and click on "CREATE" button. You will land onto the Project dashboard where you will get the Project name, ID, number along with several other essential information.
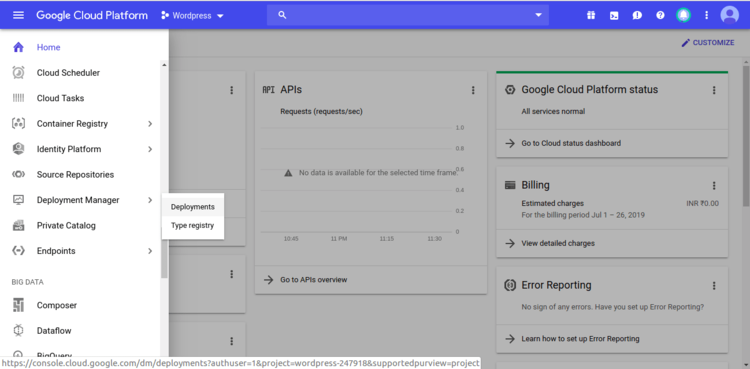
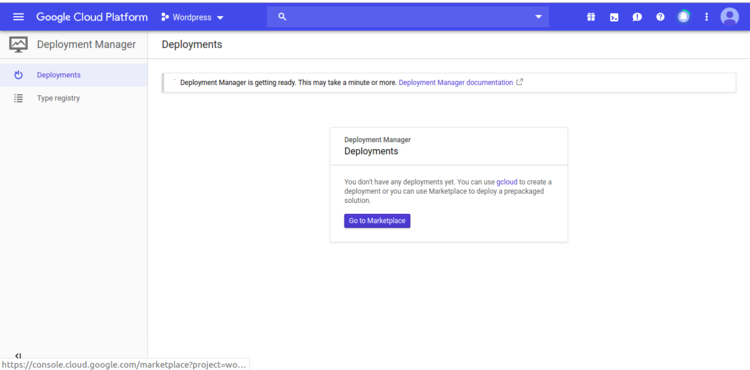
- Now, Click on the "Navigation Menu"(icon with three horizontal lines)>"Deployment Manager">"Deployments".
- You will be presented with your default Deployments page with zero deployments. Now click on "Go to Marketplace".
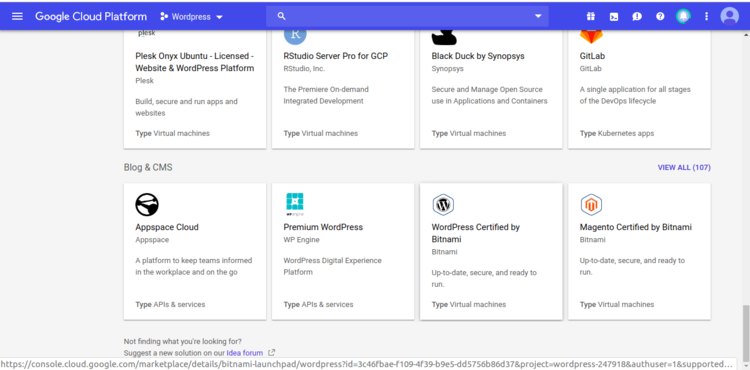

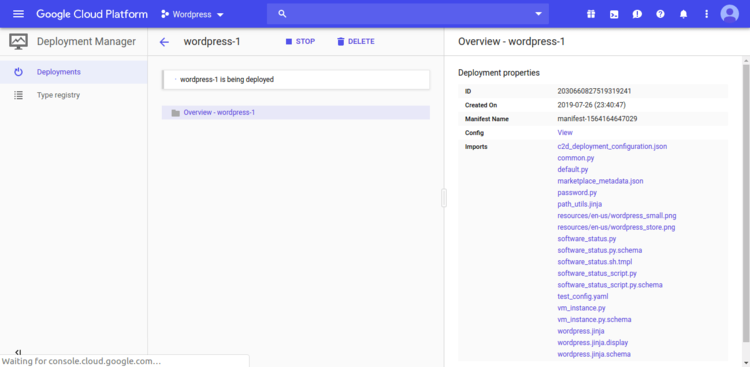

- Scroll down the page and look for "Blog & CMS" block. Select "Wordpress Certified by Bitnami" and Click on "LAUNCH ON COMPUTE ENGINE" button.
(Note:- You can choose to create other available Wordpress VM as well. I wanted the simplest and minimal one for me, that's why I have chosen the above. The process will effectively be same for every other VM.)
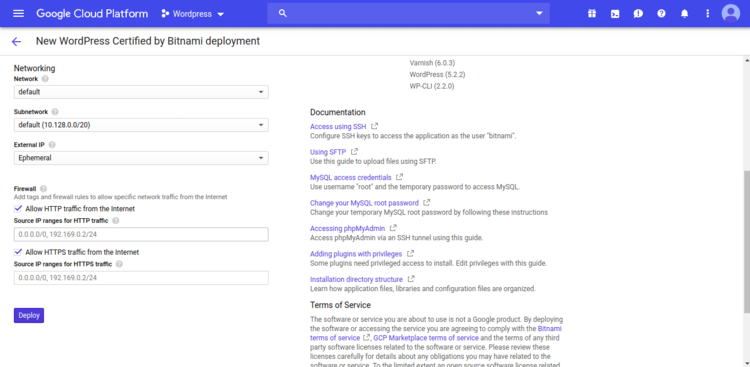
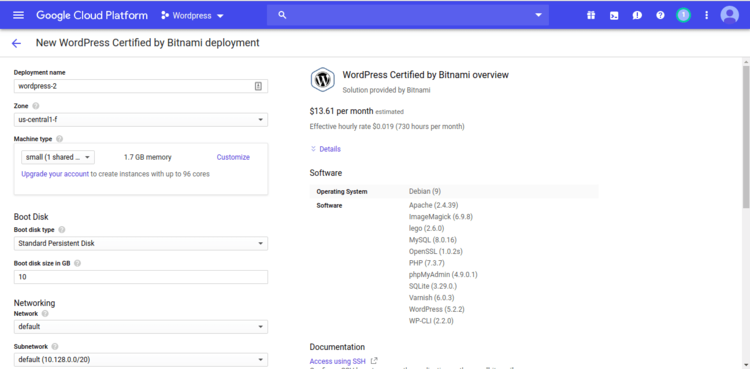
- Write a 'Deployment name' for your WordPress VM instance. You can configure your 'Machine type', 'Boot Disk & size', et. al. as per your requirement. I am leaving everything default in my case.
- Click on "Deploy" button and wait for some 2-3 minutes for the VM to properly set up.
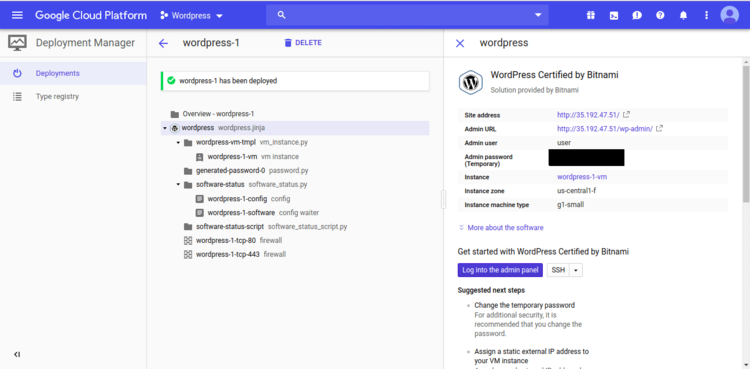
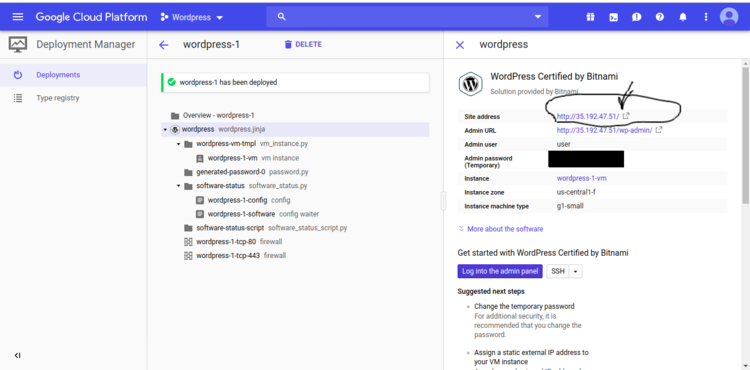
- Finally, you will see a message with a green tick "<Deployment_Name> has been deployed" where Deployment_Name is the name of your WordPress VM.
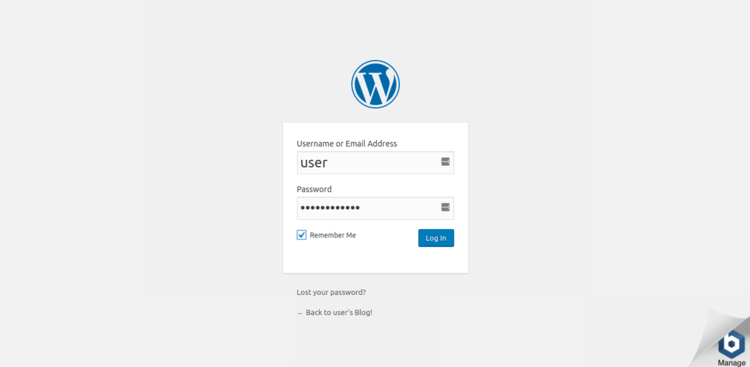
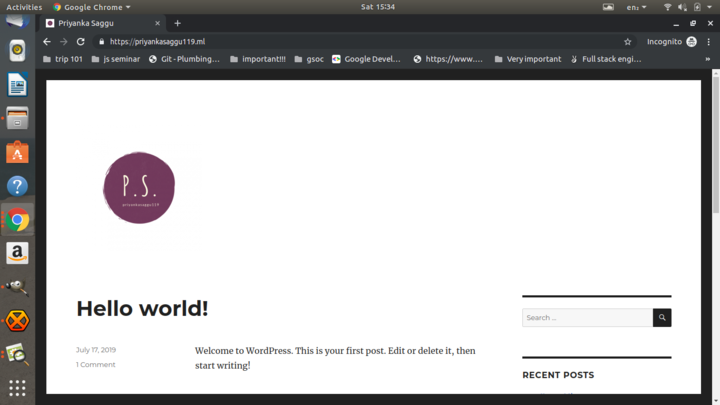
- Now, you can access your brand new WordPress blog/website with the Site URL. To customize your blog/website, access the WordPress admin page using the Admin URL. The Admin username and password(generated during the initial boot of VM) is available in the same place.
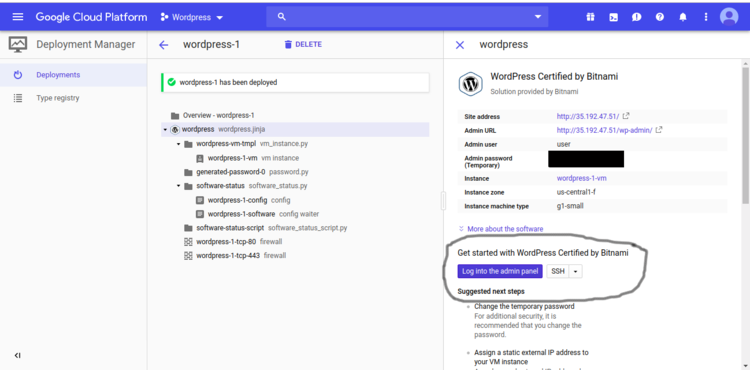
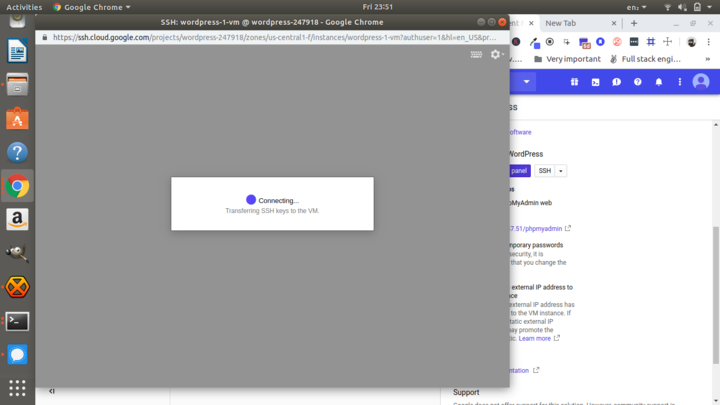
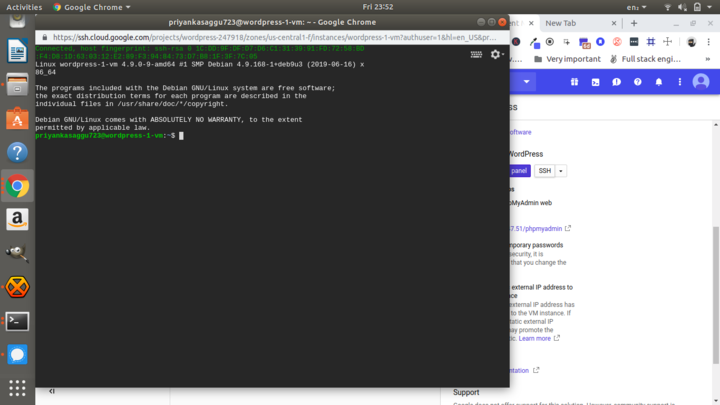
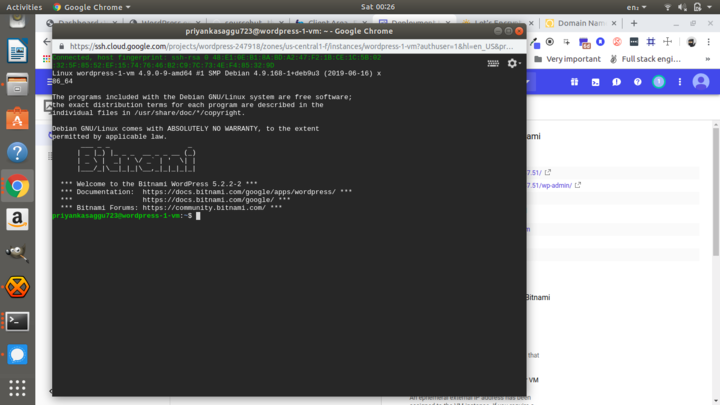
- You can login into the admin panel via SSH as well. To directly SSH into your admin panel, click on the "SSH" button available at your WordPress VM deployments page.
- A GCP terminal will be launched into a new tab. It's a Linux VM(in our case, Debian 9), so you can perform all the operations using native Linux commands.
REDIRECTING TO A CUSTOM DOMAIN NAME
Requirements:
- A freenom account to register for a custom domain name.

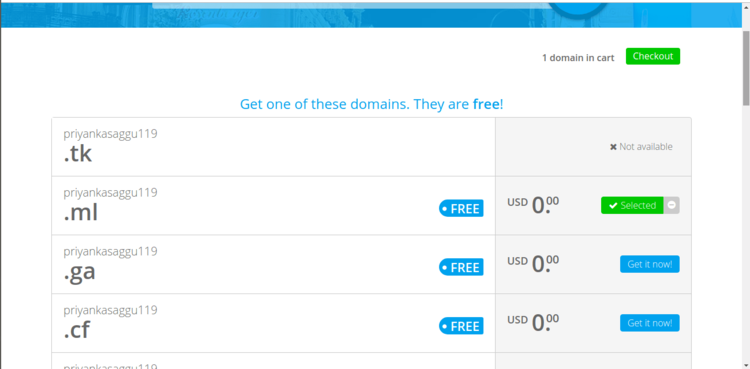
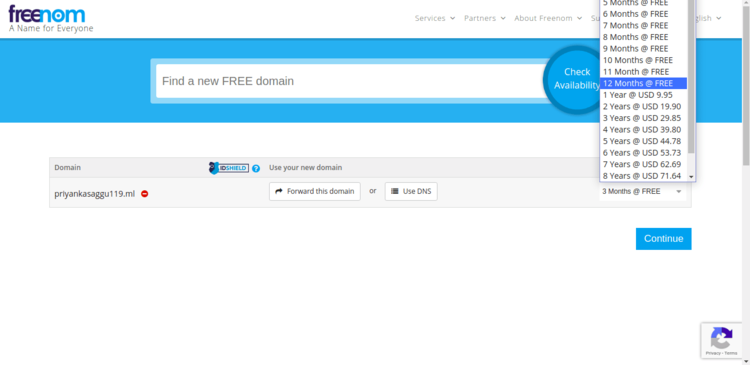
- Go to Freenom homepage. Type your required domain name in the space provided(like I am looking for 'priyankasaggu119') and click on "Check Availability".
- You will get a few options of freely available domains. Choose any one of these for the time-being (.tk is un-available because that is what I am using already for this blog).
- Click on the "Checkout" button and choose "12 Months@FREE" option before pressing "Continue".
- Now, Checkout the cart with your email id or any other social account.
- Voila, you have your own domain name now. :)
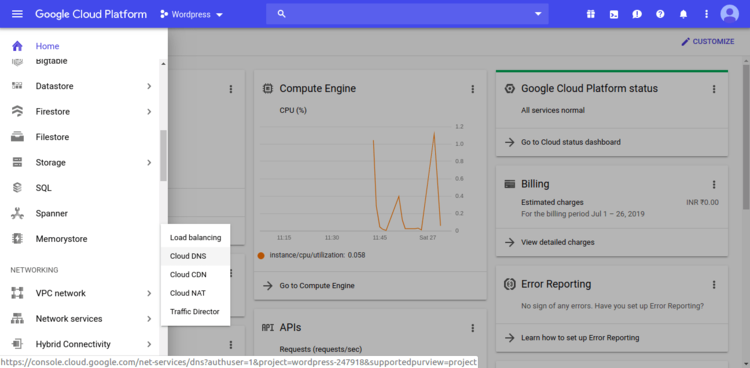
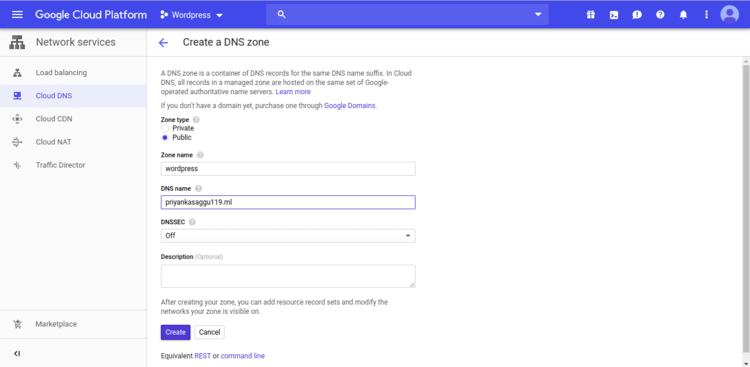

- Go back to GCP Console. Click on "Navigation Menu">"Network Services">"Cloud DNS".
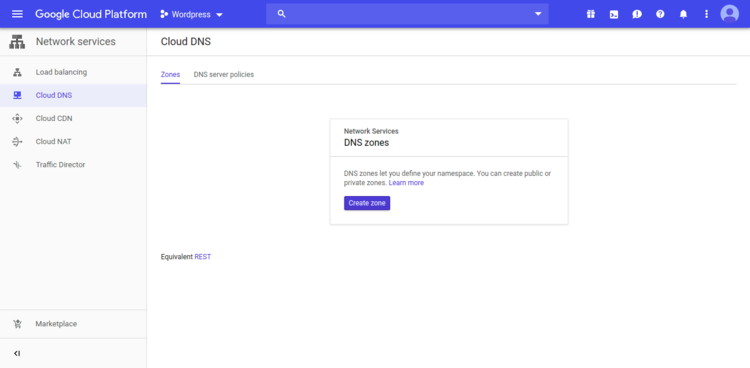
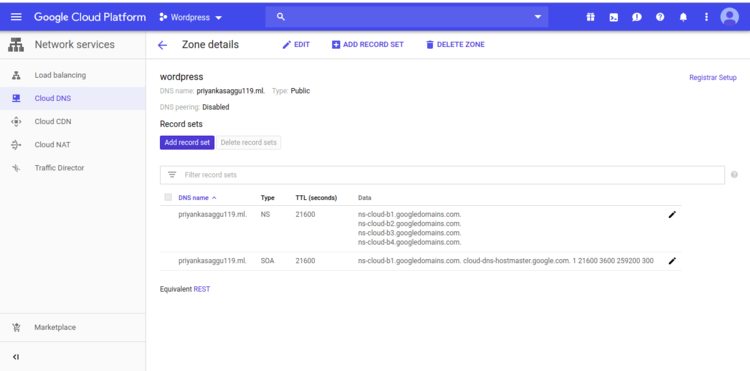
- Click on "Create zone". Write a "zone name" (like wordpress) and write your domain name registered on freenom in "DNS name"(priyankasaggu119.ml in my case). Leave the rest as default and click on the "Create" button.
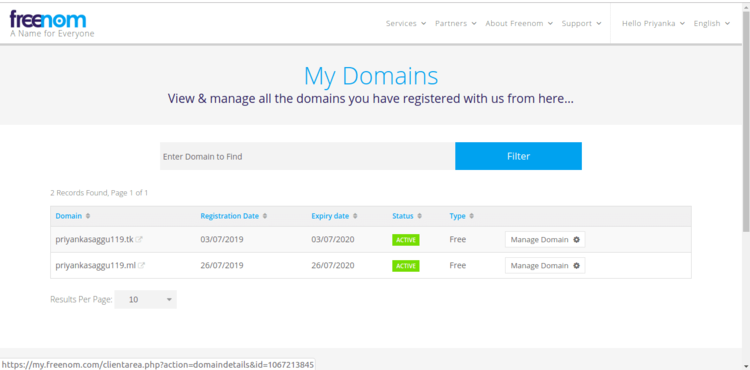
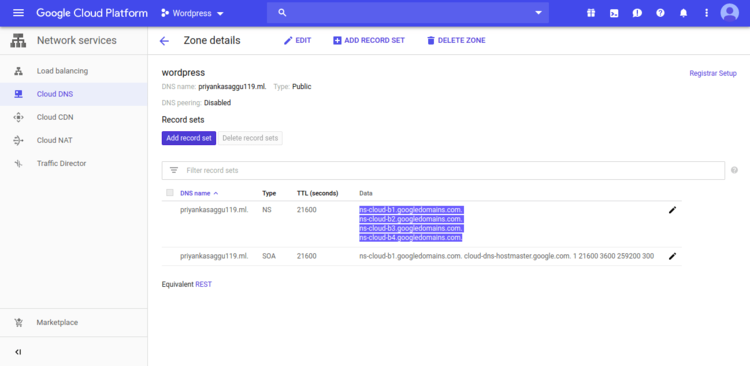
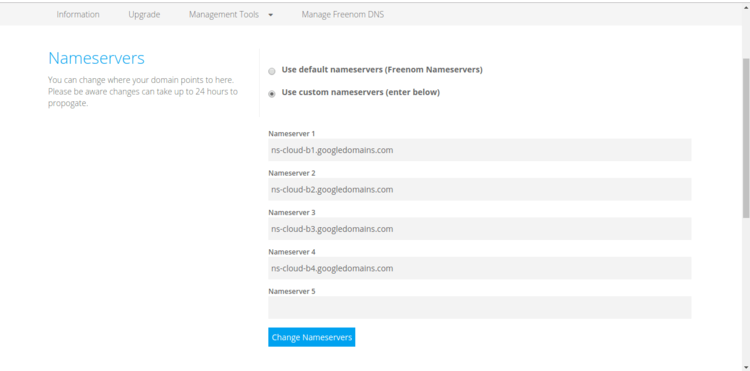
- Copy the Nameservers(NS) from the newly created Name-Zone and go back to the freenom admin-panel.
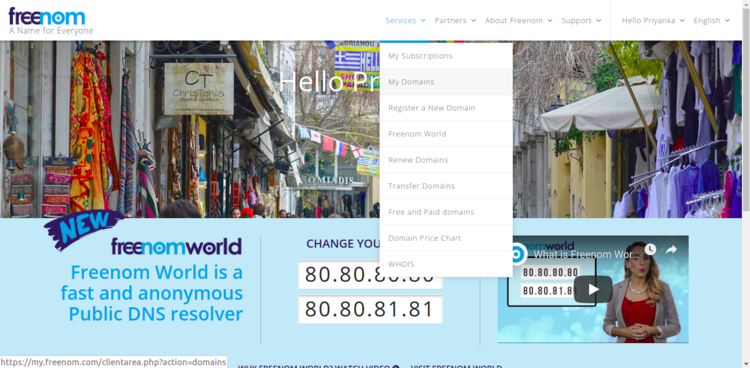
- In the top Navigation Bar, click on "Services">"My Domains">"Manage Domains"(for the domain name in consideration).
- Click on "Management Tools">"Nameservers" and select"Use custom nameservers".
- Paste the copied nameservers in the space provided below and click "Change Nameservers".
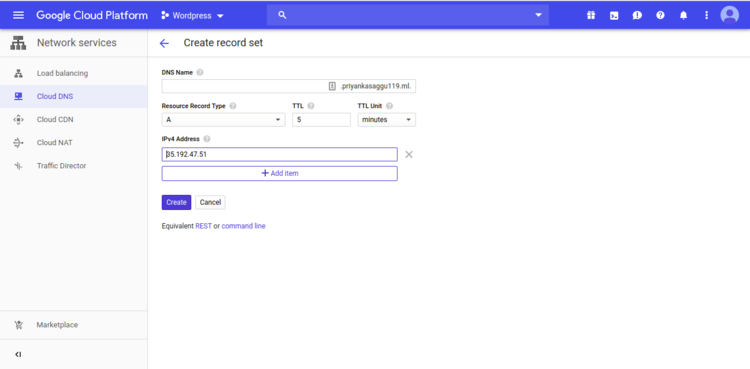
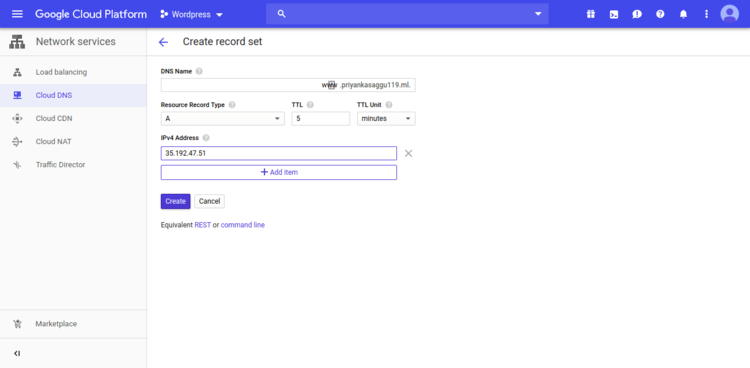
- Now, Come back to GCP on our previously generated DNS-Zone(wordpress) and click on "Add record set" button.
- Type the IP(available in Site address on our Wordpress-deployments page) in place of IPv4 Address and click on "Create" button.
- Similarly, add another record set with everything same but pre-fixing "www" to .priyankasaggu119.ml. in DNS Name.
Now that we have:
- Custom Domain Name.
- Custom Nameservers.
- Required record sets for our domain name.
Our final task for this block is to just redirect our WordPress blog/website to our registred domain name. Let's finish this final step then.
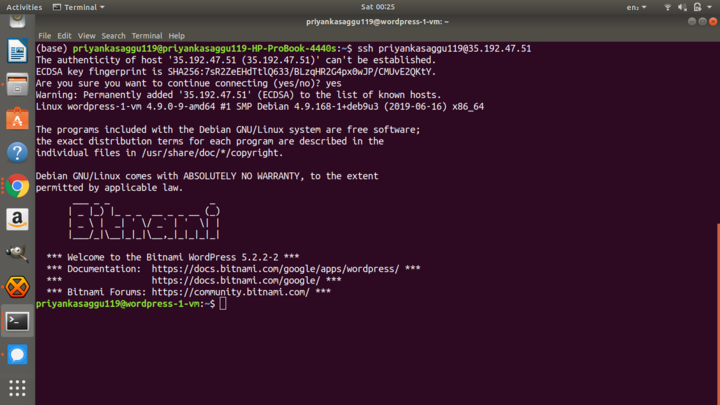
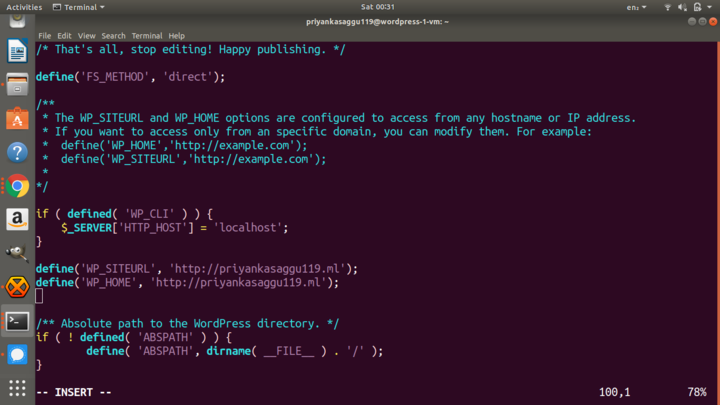
- SSH into your WordPress VM instance either on GCP Console or on your local machine. Type the following commands to open and edit your wp-config.php file.
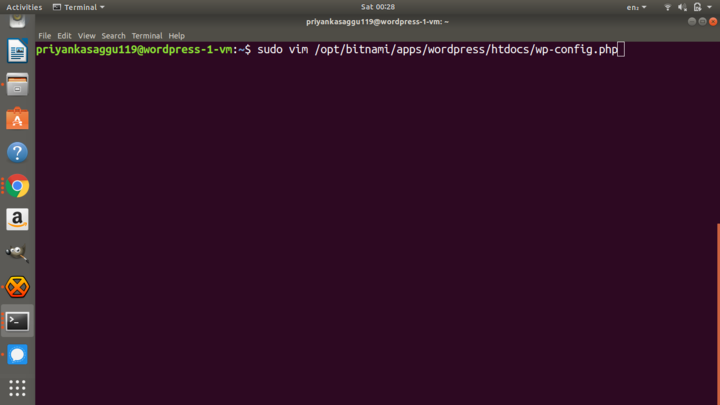
sudo -i
vim /opt/bitnami/apps/wordpress/htdocs/wp-config.php

#OR

sudo vim /opt/bitnami/apps/wordpress/htdocs/wp-config.php- Now, look for the "SiteURL and HomeURL" definitions in wp-config.php file and replace them with the following lines.
REPLACE THIS:

define('WP_SITEURL', 'http://' . $_SERVER['HTTP_HOST'] . '/');
define('WP_HOME', 'http://' . $_SERVER['HTTP_HOST'] . '/');


WITH:

define('WP_HOME','http://priyankasaggu119.ml');
define('WP_SITEURL','http://priyankasaggu119.ml');
- Note that you have to type your own domain name in place of "http://priyankasaggu119.ml" in your config file.
Tada! Now, our wordpress blog/website will be redirected to http://example.com (in my case, http://priyankasaggu119.ml)
INSTALLING SSL CERTIFICATES
We are almost done with setting up our blog/website on wordpress. The only thing left is to redirect our blog/website to a secure webpage i.e. our blog/website should be redirected to https://example.com (or here, https://priyankasaggu119.ml).
Requirements:
- An HTTP website that is already online with an open port 80.
- The website should be hosted on a server which one can access with SSH and have the ability of Sudo.
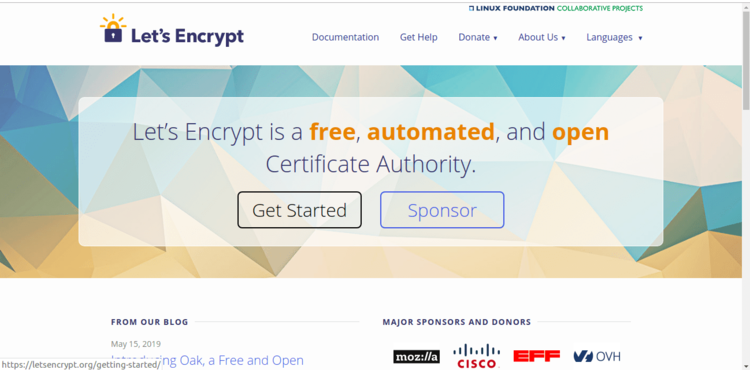
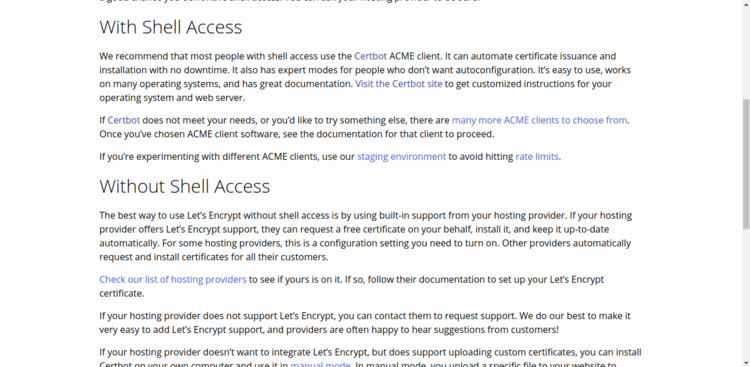
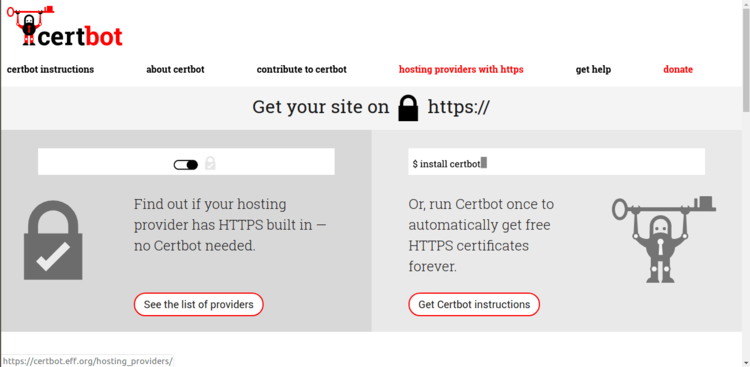
Now, if you want to use SSL on your website, you are required to search for Let's Encrypt. There, click on "Get Started" and read for the "With Shell Access" part and follow along to get a free SSL certificate using CertBot for your website.
Or you can simply follow this very well-explained blog on Free SSL Certificate Setup for WordPress on Google Cloud (Bitnami).
And if you are done with all the steps above, in the right way. I am sure that you have a working HTTPS URL now.
That's all for this article. You can read about other Wordpress hostings on GCP here.
Till next time, o/.